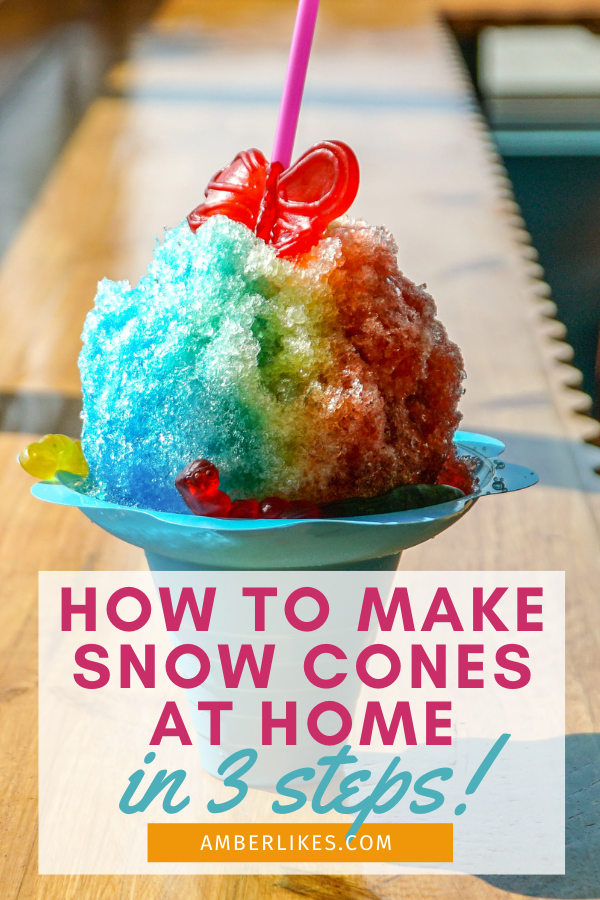
How to Make a Snow Cone in 3 Easy Steps
Easy and tasty snack: How to Make a Snow Cone
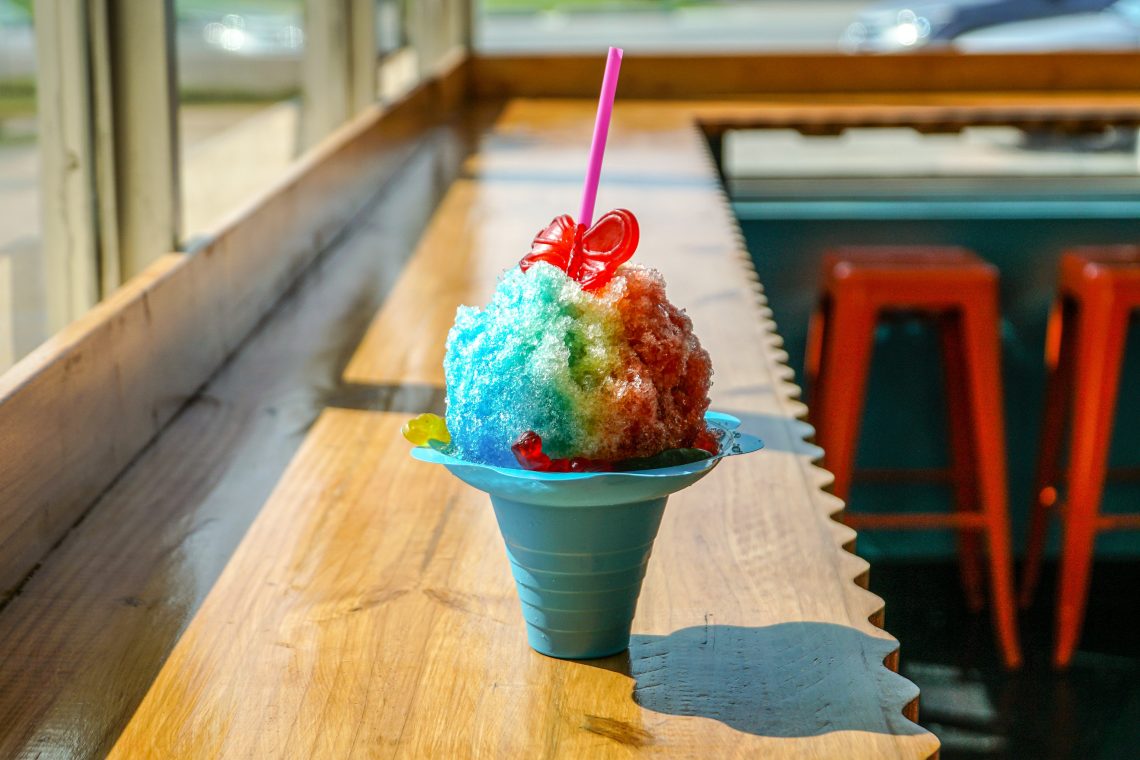
What’s the perfect summer snack? At our house, you could have several answers to that question. But in my opinion, snow cones are the first choice. And with all of the different flavors for snow cones, you can find one you love! So how do you actually make a great snow cone? It’s pretty simple with the correct ingredients!
1. Get the best snow cone maker.
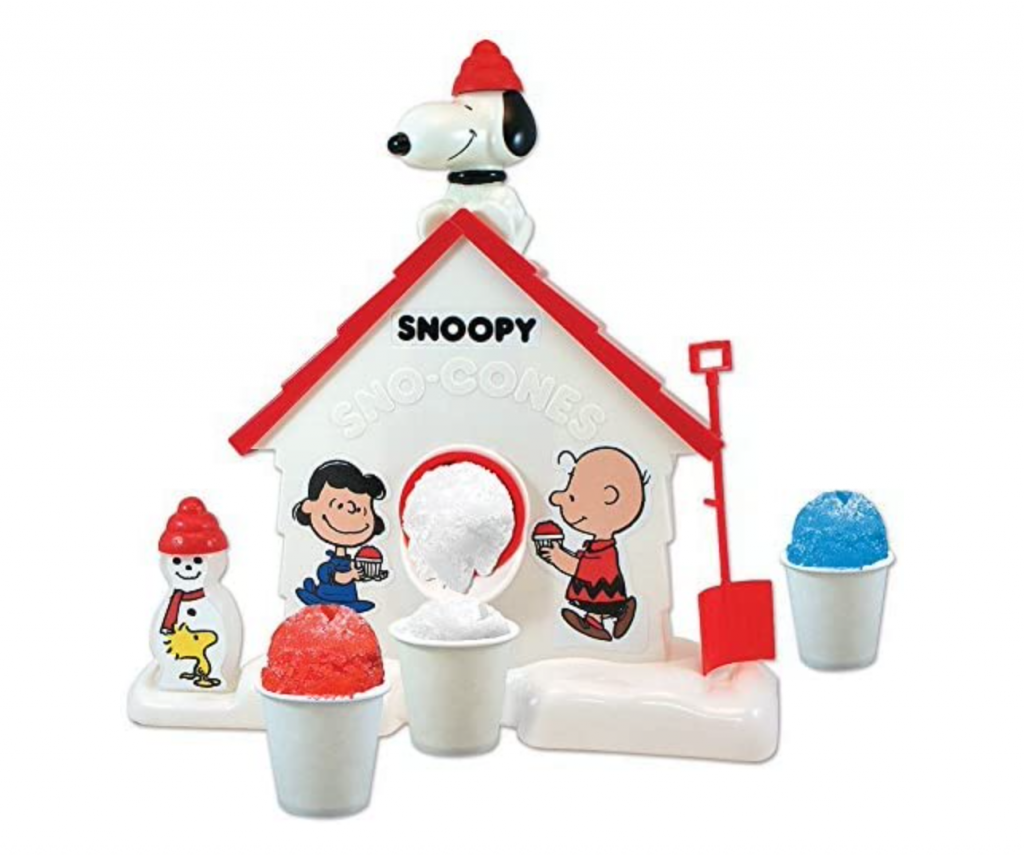
There are a lot of choices in snow cone machines. When I was little, I loved my little Snoopy snow cone maker. You would put in a few pieces of ice, and then grind it with a hand crank. It was a tedious process for a little paper cup of a snow cone. But if you’re looking for that nostalgia, you can still get the Snoopy Snow Cone Machine! At around $30, it’s a fun little gadget to have around if you don’t plan to make too many snow cones at once. Click the image or link below to purchase through my Amazon affiliate link!
Classic Snow Cone Machine: $30
Or you can upgrade to an amazing machine!
As you know, I have five kids! So when we make snow cones, we need to make them in bulk. When one of my daughters asked for a snow cone machine for her birthday, I knew she meant a small hand crank maker. But I went on a search to find the best of the best! And with some research, I can save you some time of your own research.
We went with the Little Snowie Max and we couldn’t be happier. It’s pricey; I won’t lie! At around $260, it’s an investment. But with 5 kids asking for snow cones nearly every day, it’s a kitchen appliance that actually gets used a great deal at our house. And the set below comes with powder kits to make syrup flavoring, as well as cups and spoons. In fact, some of the spoons are color changing! There’s a reason the Little Snowie Max has a five star rating from thousands of reviews on Amazon. You won’t be disappointed!
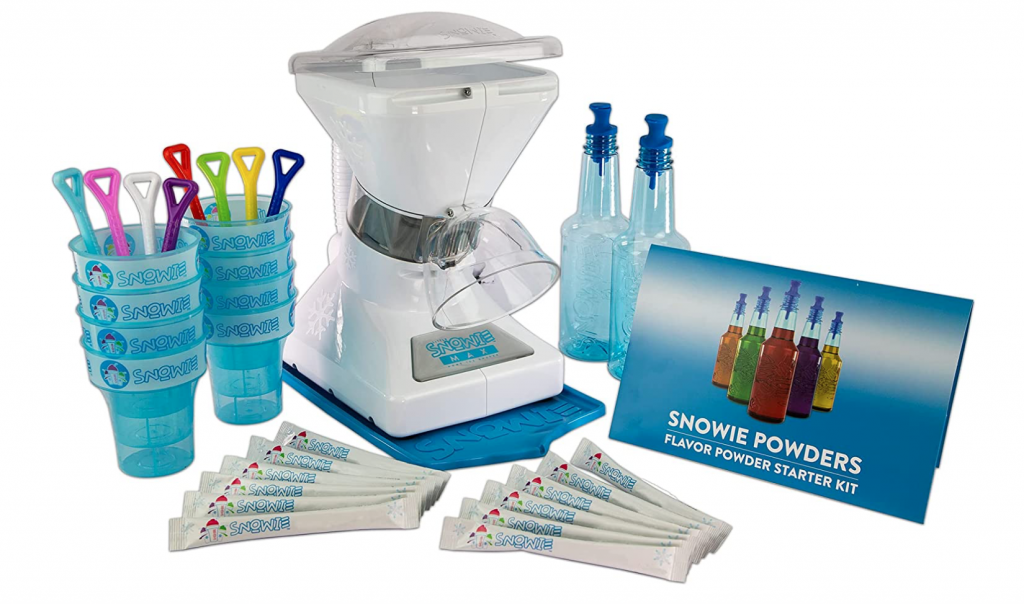
Little Snowie Max on Amazon: $260
If you want something middle of the road, choices abound!
I can’t speak to these other options since I haven’t personally used them. But there are lots of other options for snow cone machines. When you are learning how to make a snow cone, the first step is really to learn your own machine. We’ve mastered the Little Snowie Max, and will teach you how to make a snow cone using that process. But if you are looking for more moderately priced snow cone makers, there are lots of other choices as well!
- Hawaiian Shaved Ice Machine: $50
- Nostalgia Countertop Retro Snow Cone Maker: $50
- Electric Hawaiian Style Shaved Ice Machine: $30
2. The Process explained- add ice!
So now that you have your snow cone machine, how do you actually make a snow cone? The title of this post says “in 3 easy steps.” However, you could nearly explain the process in just two! This post explains how to make this summer treat using the Little Snowie Max.
Here’s the process:
- Plug in the Little Snowie Max.
- Place plastic cup under the dispenser.
- Add ice to the top of the machine and press down.
- Fill the cup to your desired amount and add flavoring.
That’s it! Clean up is super simple also. Since there’s nothing other than ice in the machine, you simply dry off the machine and put it away. As a busy working Mom of 5, the easy clean up is something I appreciate just as much as the easy process to make the snow cones. There’s nothing worse than the kitchen appliances that require soaking, washing by hand, and more. It just makes me not want to use them!
3. Add flavoring and enjoy!
So now that you know how to make the snow cones, how do you add the flavoring? Again, it’s pretty simple! I like to use Torani Sugar Free syrups because I try to minimize my sugar intake. But again, there are lots of choices!
This is a classic pack with all the best flavors, available on Amazon:
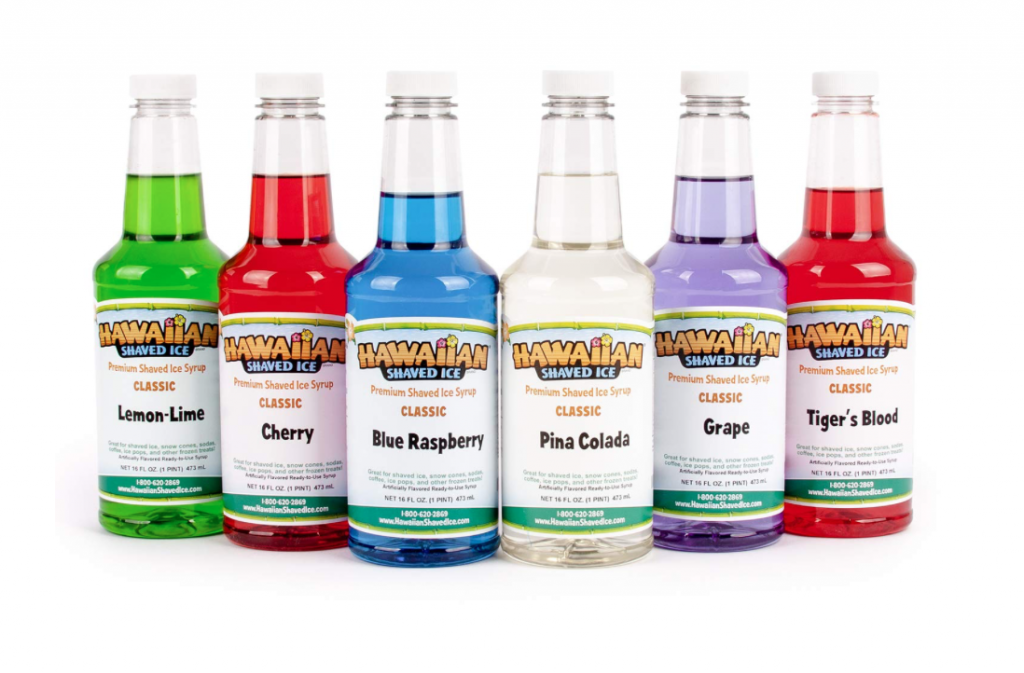
Hawaiian Shaved Ice Classic Syrup on Amazon: $38
And here are the Torani Sugar Free Flavors that we mostly use, in classic summer flavors!
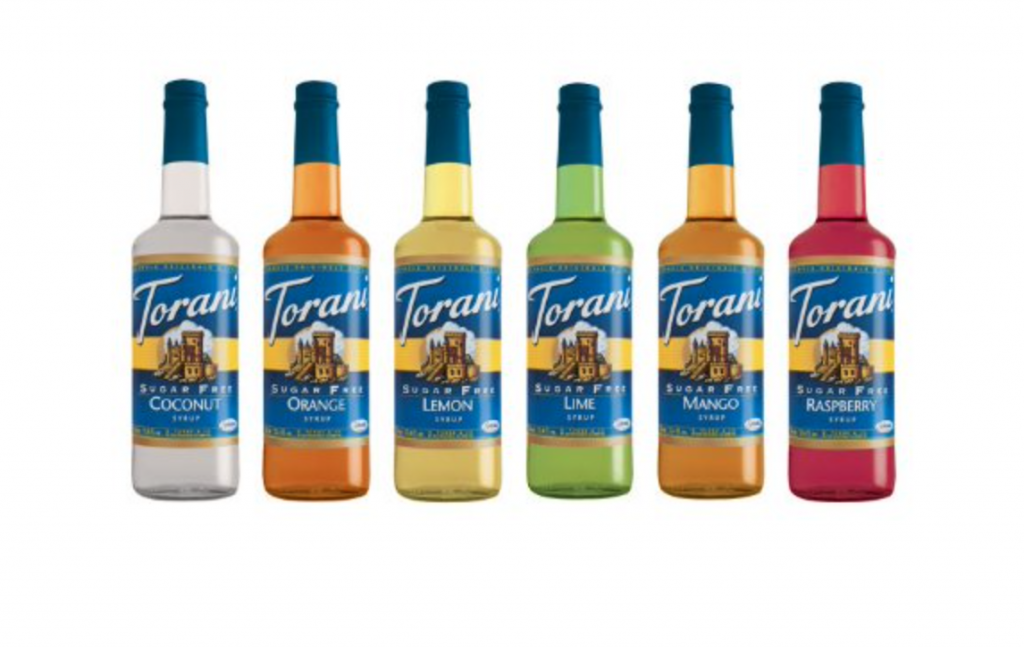
Torani Sugar Free Summer Flavors: $65
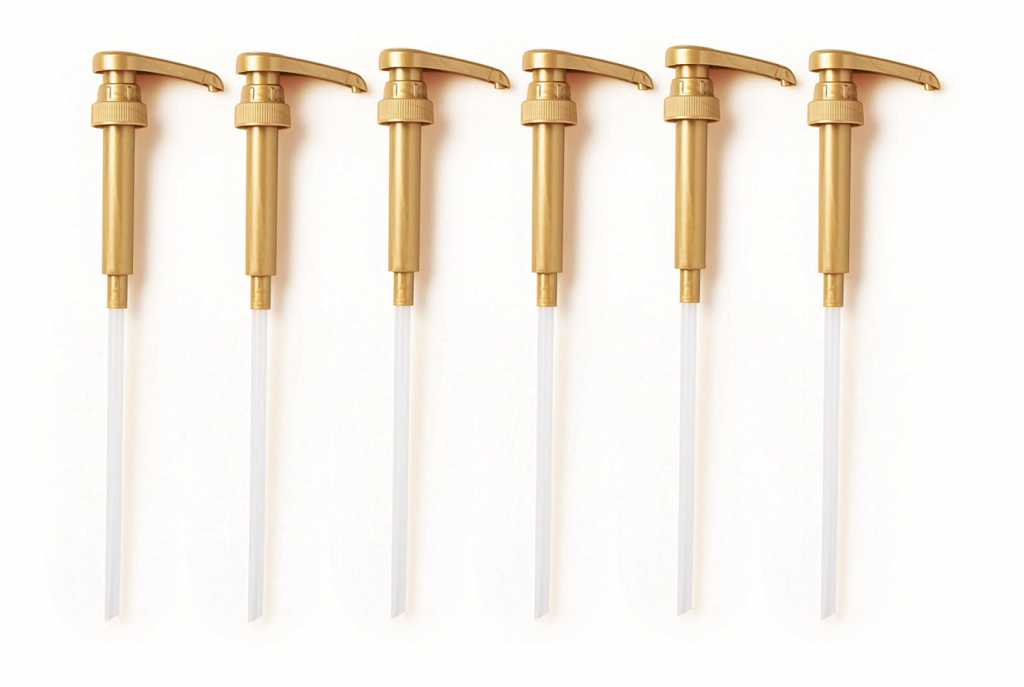
My kids like to use the pumps to dispense the flavors. And while these aren’t absolutely necessary, they are a nice way to control the mess and to also control how much flavoring little hands pour on!
We have these, and they work perfectly!
So there you have it! Now you know how to create this tasty and simple summer treat, right from your own kitchen. I’m so happy with our purchases and have saved money on buying this treat when we are out and about. I hope this helps bring many happy summer memories to you and your family!
You may also like:
How to Play the Game of Favorites


You May Also Like

The Best Things to Do in Orlando for Adults

Easter Events in Orlando